How to install Keycloak in Kubernetes Cluster with Helm
Helm 사용해 Kubernetes 환경에 Keycloak Application을 설치해 본다.
Installation
Install Repository
keycloak chart를 위한 Repository를 설치해 준다.
- 명령:
$ helm repo add bitnami https://charts.bitnami.com/bitnami
Install Chart
keycloak chart를 위한 Repository를 설치해 준다. LB가 없는 환경에서 테스트를 위해 service.type 컨피그를 NodePort로 설정한다. 만약 LB를 사용 가능할 경우 LoadBalancer value 설정 혹은 config overriding을 생략한다.
pvc를 사용할 수 없는 환경에서는 –set postgresql.persistence.enabled=false 옵션을 추가하여 persistence option을 off해 준다.
- 명령:
$ helm install <release name> bitnami/keycloak --set postgresql.persistence.enabled=false --set service.type=NodePort

# persistence option disabling example
$ helm install <release name> bitnami/keycloak --set postgresql.persistence.enabled=false --set service.type=NodePort
위의 명령어 실행 시 아래와 같은 출력 화면을 확인 할 수 있다. 출력된 정보를 통해 keycloak의 URL(출력 내용 1번을 통해)과 계정 정보(출력 내용 3번을 통해) 을 얻을 수 있다.
- 출력 예시:
ubuntu@master:~/pv$ helm install sunny-keycloak bitnami/keycloak --set postgresql.persistence.enabled=false
NAME: sunny-keycloak
LAST DEPLOYED: Fri Mar 26 16:55:39 2021
NAMESPACE: default
STATUS: deployed
REVISION: 1
TEST SUITE: None
NOTES:
** Please be patient while the chart is being deployed **

Keycloak can be accessed through the following DNS name from within your cluster:

    sunny-keycloak.default.svc.cluster.local (port 80)

To access Keycloak from outside the cluster execute the following commands:

1. Get the Keycloak URL by running these commands:

  NOTE: It may take a few minutes for the LoadBalancer IP to be available.
        You can watch its status by running 'kubectl get --namespace default svc -w sunny-keycloak'

    export SERVICE_PORT=$(kubectl get --namespace default -o jsonpath="{.spec.ports[0].port}" services sunny-keycloak)
    export SERVICE_IP=$(kubectl get svc --namespace default sunny-keycloak -o jsonpath='{.status.loadBalancer.ingress[0].ip}')
    echo "http://${SERVICE_IP}:${SERVICE_PORT}/auth"

2. Access Keycloak using the obtained URL.
3. Access the Administration Console using the following credentials:

  echo Username: user
  echo Password: $(kubectl get secret --namespace default sunny-keycloak-env-vars -o jsonpath="{.data.admin-password}" | base64 --decode)
생성 된 자원 예시:
- statefulset list:

- pod list:

- secret list:

- svc list:

Password 확인
chart 설치시 출력된 내용의 password 확인 방법이 잘못 되어 있다.(chart version keycloak-2.4.1 기준) secret 목록 확인 후 admin-password data가 들어 있는 secret을 통해 password를 확인 할 수 있다. 이번 테스트에서는 release name의 secret에 password data가 들어 있는 것을 확인하였다.
- 명령어 예시:
# example
kubectl get secret --namespace default <secret name> -o jsonpath="{.data.admin-password}" | base64 --decode
접속 확인
서비스 목록을 통해 확인한
- url 예시:
https://<Node IP>:30379/
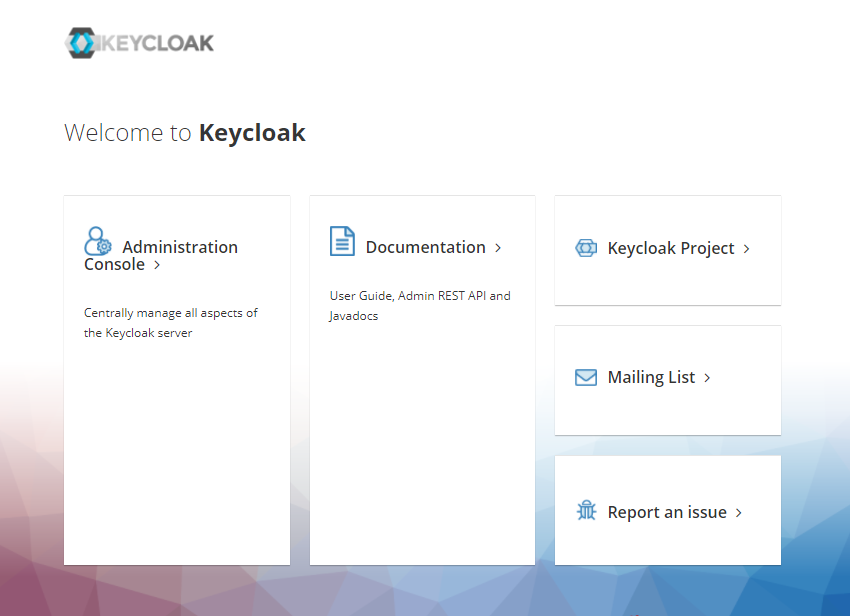
- UI 접속 예시:

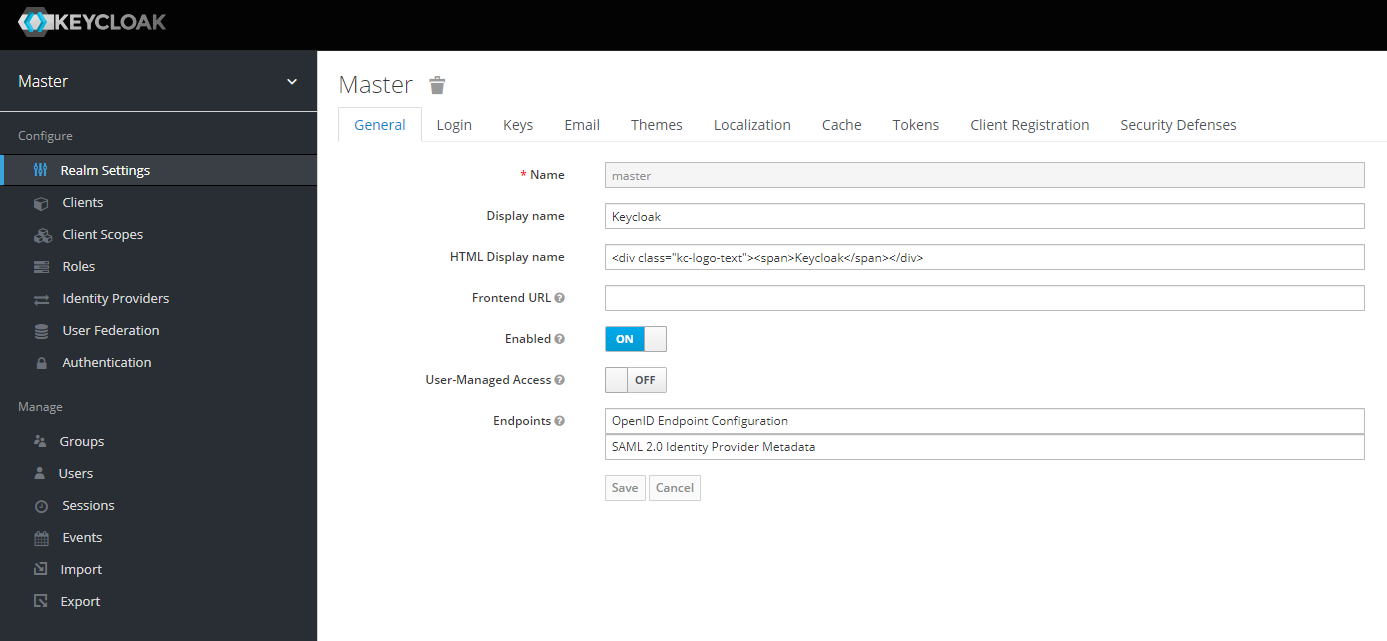
chart 설치 시 확인 한 user 계정정보를 사용해 admin 계정에 login할 수 있다.
- Admin Page 접속 예시:


Leave a comment